
Disclaimer: I originally wrote this post for blog.evestemptation.com.
Lip liner can sometimes be tricky to figure out. I only started wearing makeup when I graduated from high school, so it was just a couple years ago that I found myself using a lip liner for the first time. As I stared at the tiny pencil, so many questions popped into my head. Is lip liner really necessary? Are you supposed to over-trace or under-trace your lips? What shade should you use? How the heck do you avoid looking like a clown?
It took me a long time to become comfortable with using lip liner, and I still make mistakes. However, I have learned some tricks along the way that really helped me out!
Keep reading for my 6 steps to create perfectly (or as perfectly as possible) lined lips.
In this tutorial, I will be using the Conditioning Lip Definers from Eve by Eve’s. These are retractable, double-sided lip liners that contain ingredients such as rosehip oil and avocado oil to condition your lips.
1. Prep Your Lips

Before applying makeup to your lips, you need to prep your lips. Exfoliating your lips will get rid of flakes of dead skin, and using lip balm will keep your lips soft and hydrated. This step takes about thirty seconds and sets a good foundation for the rest of your lip products.
If you don’t currently use a lip scrub, I would recommend making one from brown sugar and honey. Your lips will be so soft and smooth afterward!
2. Choose Your Liner Color

There are no rules to makeup; if you want to choose a liner that is lighter or darker than your lipstick, that is completely fine! I personally like to use shades as similar as possible, because I don’t like an ombre look.
I really like these Conditioning Lip Definers from Eve by Eve’s, because each pencil comes in two shades! I have them swatched on my forearm in the photo above. From top to bottom are these four duos: Petal Pink/Rose, Plum/Blossom Pink, Oak/Cocoa Beige, and Blood Orange/Apple Red.

For this lip look, I decided to use the Oak shade from the Oak/Cocoa Beige duo. This shade is a warm nude beige with brown undertones, and it closely matches one of my favorite liquid lipsticks.
3. Prep Your Pencil
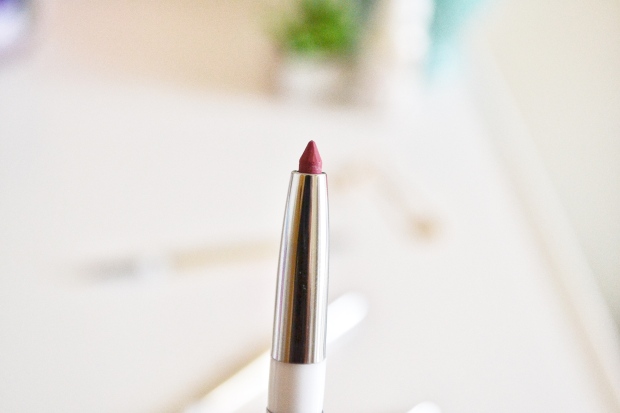
Please, please, please, make sure your liner is sharp before using it! A dull tip will smear and be harder to draw on. If you have a wooden lip liner, invest in a sharpener that fits it perfectly. These Eve by Eve’s Conditioning Lip Definers do not need to be sharpened and stay precise during their lifetime.
After making sure your pencil is sharp, warm it up a little bit by drawing on your hand. Don’t press down hard, because you want to keep that nice sharp tip. Warming up your pencil will keep it from tugging on your skin and skipping on your lip.
4. Map It Out

If you try to line your lips in one go, you may end up not liking the shape you’ve created. Instead, take a few extra seconds to map it out. Create a small X on your cupid’s bow, and do the corners and center of the bottom lip. You can play around with angles here, and easily wipe off any mistakes.
It’s here that you set the stage for under-lining or over-lining the lips, or following their natural line. I like to follow my upper lip’s natural curvature, and very slightly overdraw my bottom lip. However, you might prefer to do something completely different. Once you’ve determined the shape of your lip, go ahead and “connect the dots”.

In the picture above, I’ve brought the lip liner down my lip a little. This will make it a lot easier to make a seamless transition to lipstick. Right now, the liner looks a little rough. However, the next step fixes that right up!
5. Fill In the Rest of Your Lipstick

Take whichever lipstick shade you’ve decided on, and fill in the rest of your lipstick. Slightly overlap it with the lip liner, but don’t cover it completely. The liner is what keeps your lipstick from feathering and smudging outside your lips, so you need to keep that barrier.
6. Fix Mistakes
If you realize you’ve made a mistake, it’s a simple fix! Just use a small angled brush and some concealer to smooth out any jagged or lopsided edges. The No.13 brush from Eve by Eve’s would be the perfect brush to get a precise line.

That is my routine for a beautifully lined lip! If you feel discouraged by the trickiness of lip liner, keep on practicing. You will get better over time, I promise.
Don’t let lip liner scare you away from enjoying smudge-free lips. Keep calm and pucker on!

Gorgeous! I love that colour on you!
LikeLike
i feel like my lips are my best feature and this year I am trying to get into make up and live like I was 22. I was just thinking the other day lip lipiner (i have no lip liner) is a must, like tweezers and a good eyebrow pencil. my goal is to get the PERFECT flawless cupid bow/Rihanna crease on the lips. As sharp as i can get it! So this lip liner sounds cool since it has two shades! I really want to play with make up now.
LikeLike
Starting with a small X is such a great tip! 💗
LikeLike
That color looks so good on you! Great post. 🙂
xo, Natalie | Natalie Inspired
LikeLike
Love your tips! I neeever use lip liner! I’m definitely going to need to try and use it more often. I think the nude beige color you wore looks SO NICE! 🙂 Definitely need more beige nude colors too!
xo, Chloe // https://funinthecloset.com/los-angeles-winter-popjulia-review/
LikeLike
I love this post! I don’t really line my lips that much because I don’t know how to don’t it as precisely as you. Thanks for the great lesson!
Beth || http://www.TheStyleBouquet.com
LikeLike
I also do the criss cross on my cupids bow! It can be so tricky with liner sometimes, but so worth it!
LikeLike
LOVE this color. The shaping with liner is SO important. A lot of times people try and line straight across, but the lines in the center shaping the cupids bow are so crucial!
LikeLike
I love creamy lip liners, and I agree with making sure it has a nice point before applying.
LikeLike
I have never been good at lining so thanks for the tips. I need to try that liner that stays sharp!
🙂 gwingal
LikeLike
looove this color on you! i’m a psycho about my lips so i always make sure to set aside a good chunk of time in my make up routine so I don’t mess up. you can’t rush beautiful lips!
LikeLike
Great tips! Lip liner has been something that I have always tried to utilize but didn’t know how. Love the trick at the top part of the lip you show.
LikeLike